I have been busy to finish my second Belle Epoque hat which is providing quite a challenge.
This hat has five clam shell waves integrated in the brim. When I started this project back in february I was a little annoyed by the forming procedure with buckram/millinery wire. Now I figured that covering the hat form with fabric is even worse...
Here we go:

Before adding any fabric to the brim I decided to remove the seam allowance in the wavy section, because I simply couldn't see a way to attach the crown with these tabs in my way.

After adding the wire to the crown tip (the step where I ran out of millinery wire in february) I attached the crown sides. I decided to go for a crown height of 2" so I cut down the sides a little...
All the sewing (hand and machine) was done using nylbond in a rather ugly shade of brown, which will be out of sight not far from this step:-)

The pattern instruction told me to use a super stretchy fabric to cover the brim to avoid side seams. Of course I wanted to avoid those seams and found a piece of black stretch fabric to use as mulling.
It didn't work.
As you can see on the right my first try ended as a big mess of wrinkled fabric... Because of the waves the fabric has to be glued to the brim, which makes the covering process a lot more difficult. As soon as the glue has been applied the fabric should be stretched out evenly on the brim and inside the waves.
In the end I ended up using two pieces of fabric and finally got a satisfying result.


My hat with the finished mulling. The crown is not attached yet, since this will be done after covering the brim. Because of the delicate waves I didn't use bias tape to cover the edges after mulling. This way the finished brim won't be so bulky.

I knew I wanted to make this hat, but I never thought about the colour and trimmings of the finished hat.
This is one of the pictures on the pattern by Lynn McMasters.

I liked the idea with the lace and the pattern called for bobbin lace, but I don't want to use the same lace all the time. And there is absoluetly no tulle in my stash...
Therefore I had to go FABRIC SHOPPING!!!
And here is my final choice of fabric:
Two different shades of soft tulle, lace and satin.

Since the satin is a non stretch fabric I will have the seams on the brim, but so be it.
The only difference to the mulling was to actually sew and press those seams first. I attached the layers using spray glue.


 |
| The finished bias binding |

Because the lace was actually a piece of fabric I had to cut out the ornaments very neatly. This alone took about 2 hours.

The pattern called for two rows of lace, but after testing the fit on the brim I was quite happy with one row only. I used my reliable magnets to test-fix the lace and avoid marks on the fabric.


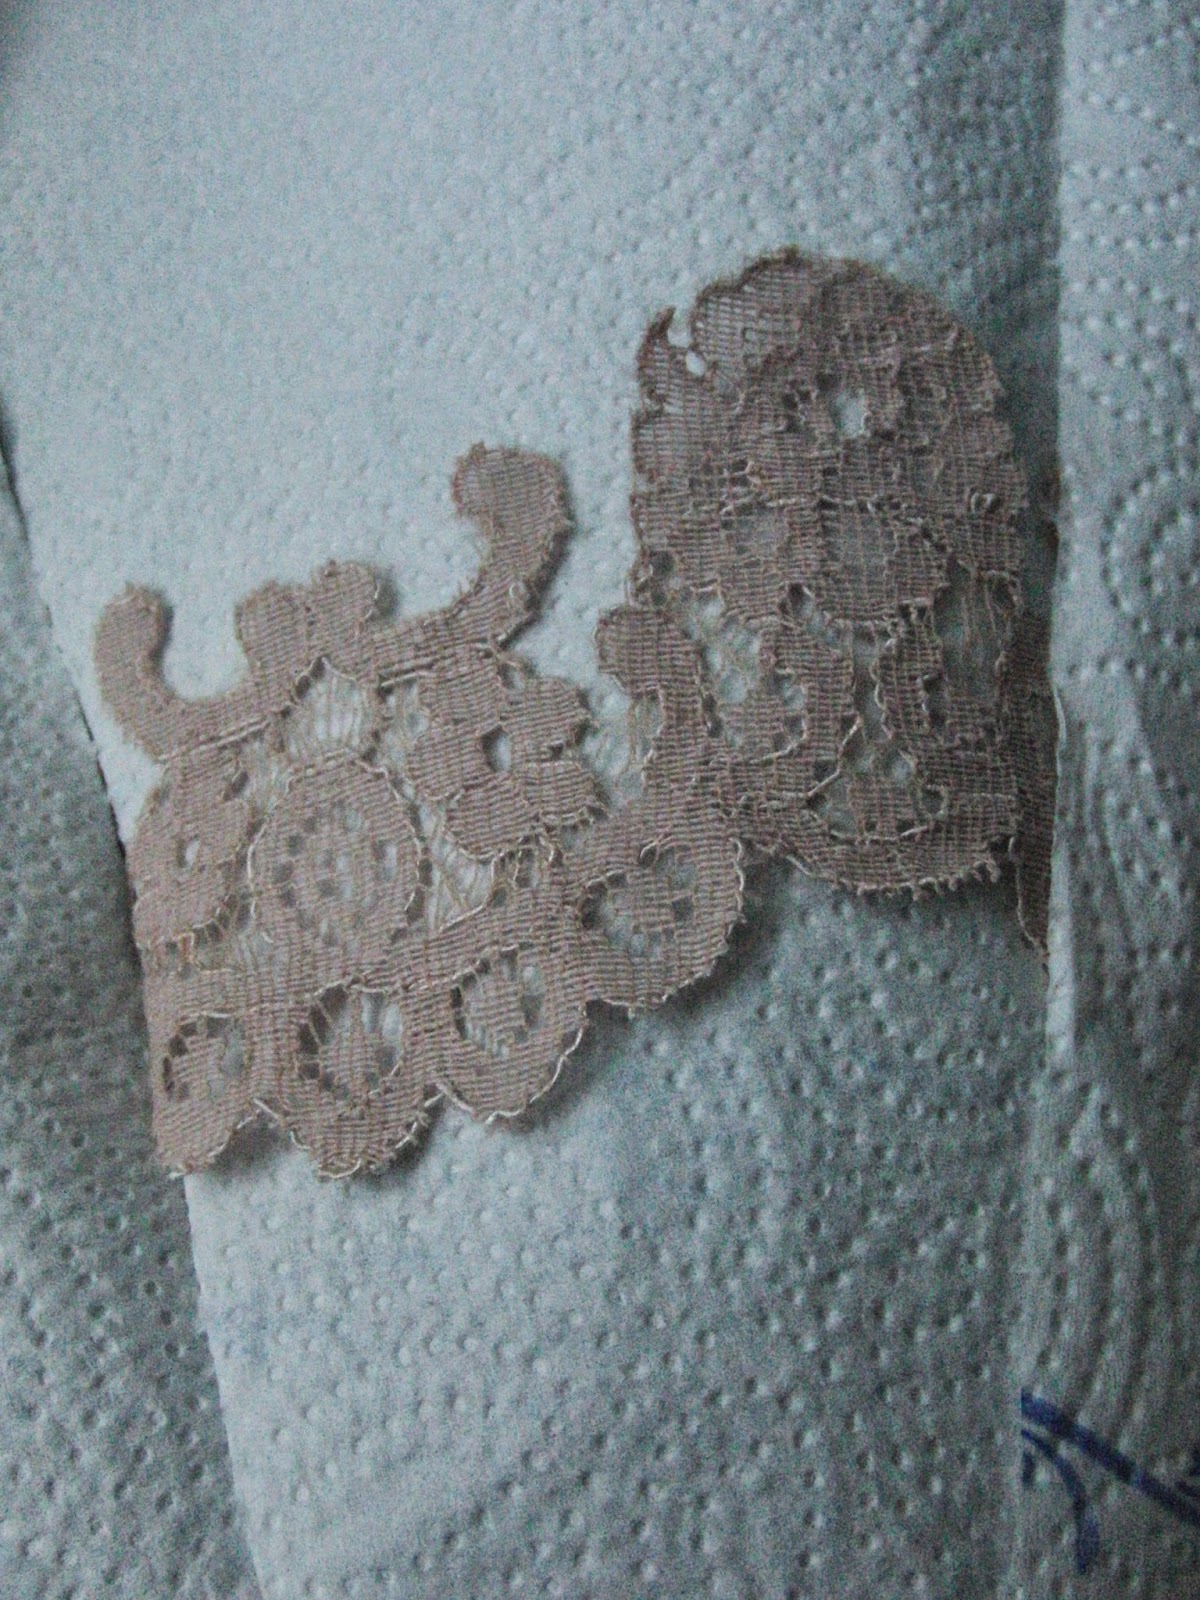
I covered the brim and lace with paper towels while spray-gluing the lace. This way I am avoiding glue stain on the fabric.
One section after the other all around the brim. For the centre front wave I cut and glued three single ornaments to fill the curves neatly.
 |
| Tadaa! The upper brim all finished! |
Attaching the crown
Now I had to do the part I feared most on this lovely hat: attaching the crown to the curvy brim... To make it good I fixed the centre front and centre back of the crown to the brim before starting to actually sew all around. I then used a whip stitch to sew the crown to the straight part of the brim.
 |
| Crown attached at centre front and centre back |
 |
| The lace is overlapping to form the circle around the brim. |


PHEW!
I just got shoked by my computer! The energy went off and I was seriously scared that this entire post had to be done again!!!
Luckily my blogger account saved everything in the drafts folder without me pressing the "save" button. Good to know for the future!
Back to my hat!
To attach the waves I fold under the fabric seam allowances sewing them to the crown underneath the brim. With the buckram seam allowance it would have been a real pain, but this way it went surprisingly easy.
Here is my result:

I am very happy with my hat so far and will keep you posted.
The next step will be adding the tulle puffs underneath the waves, but (can you imagine?) I didn't buy enough fabric! So more shopping has to be done before I can continue...

Keine Kommentare:
Kommentar veröffentlichen